

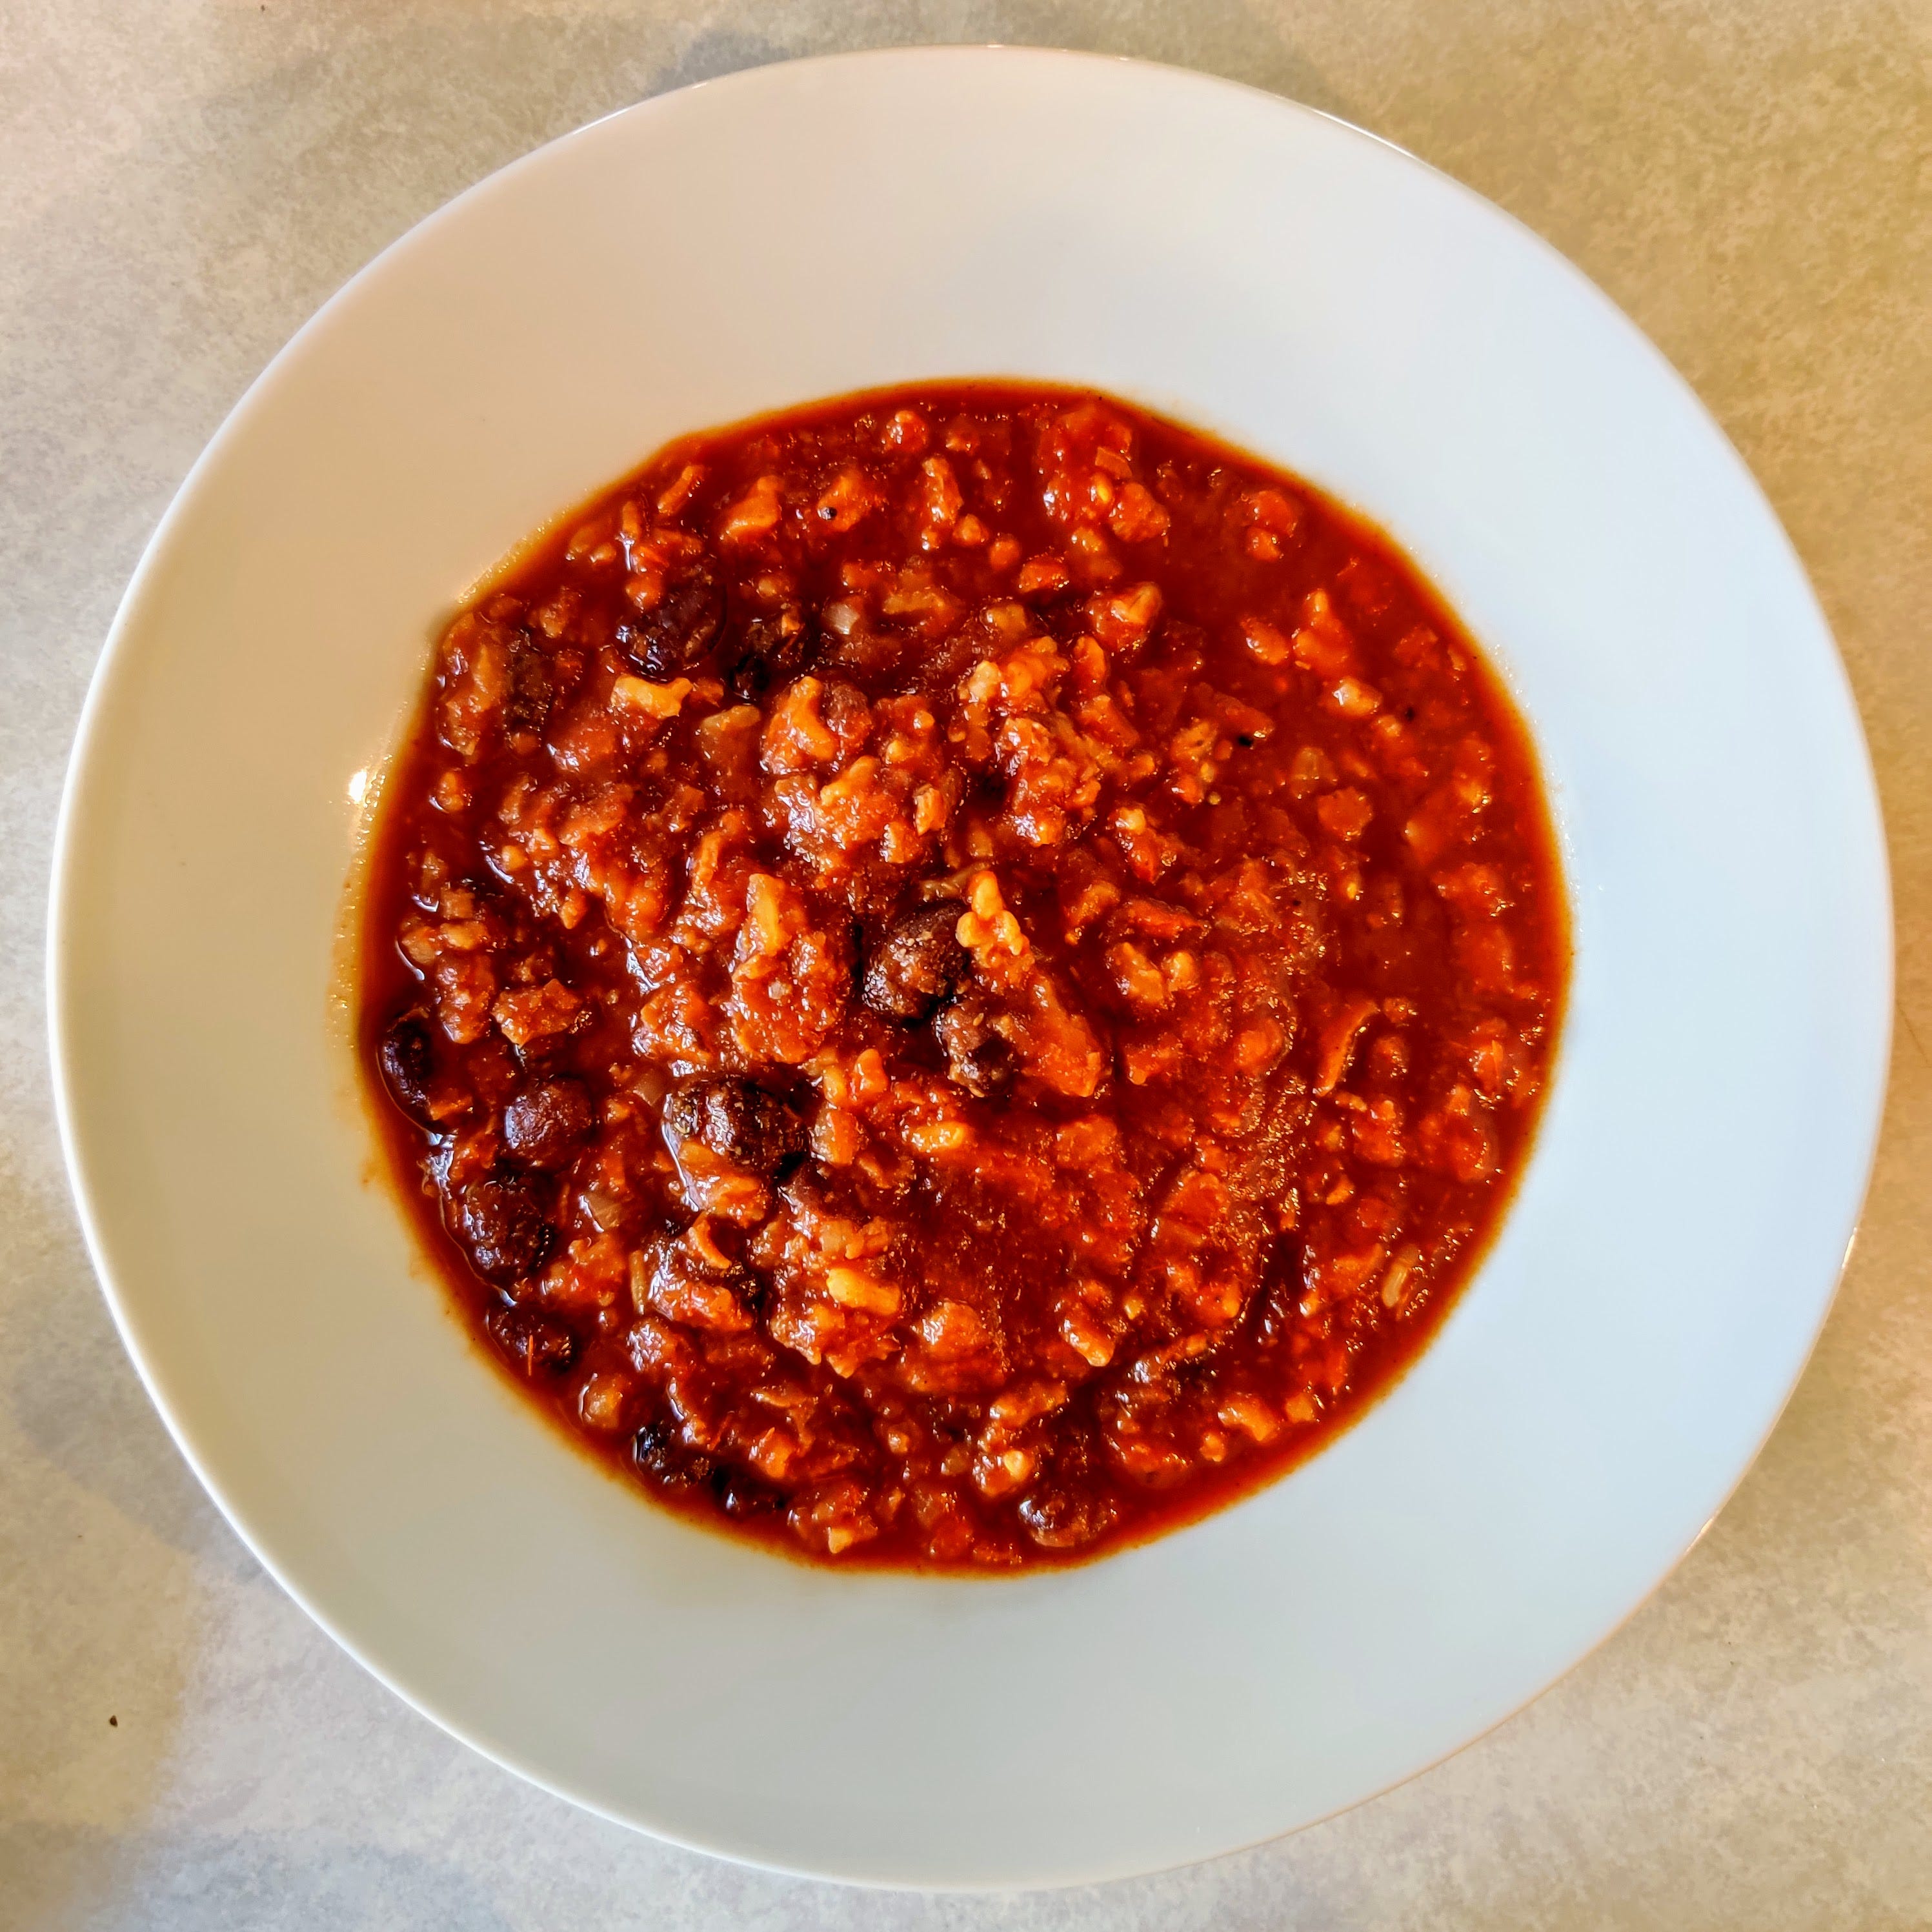
Ultimate Lockdown Chili
Ultimate Lockdown Chili
A primer on the fundamentals of a classic dish.

This is a new format I’m trying out. Rather than a list of ingredients and steps to follow, think of this as an omni-recipe. What distinguishes it from the mundane is that it will prepare you to make chili in virtually all circumstances by understanding the ingredients and the methodology. Hopefully, this will be a more instructive method of teaching.
Ingredient breakdown
Part 1: Protein
Every chili needs a meat or meat-substitute. I wouldn’t recommend animal products, because they don’t last long in the fridge and meat is a bummer. Instead, I’m using textured vegetable protein. It’s a dehydrated soy protein that is nearly identical in shape and texture to ground beef. It’s also high in protein, fiber, and cholesterol-free. It will take on the flavors of whatever you season it with. I highly recommend it. You can get a great deal on some here.
Alternatives: Tempeh, ground turkey, ground chicken
Part 2: Grains
This is a hearty chili. The kind with half a dozen food groups in the pot. When you’re trying to save money and avoid going to the store or leaving your home, it’s exactly what you want. I’m using brown rice. It’s cheap, good for you, and it will add diversity to the texture of the chili.
Alternatives: Quinoa, couscous, white rice
Part 3: Legumes
If you’re anything like me, you’ve spent a great deal of time making Rory Gilmore style pro/con lists about the relative benefits of canned vs. dried beans. Choose your fighter.
Dried Beans: Great taste, very low sodium, cheap, much longer cook time
Canned Beans: Easy to prepare, average taste, high in sodium, expensive
Alternatives: Any kind or color of bean, chickpeas, lentils
Part 4: Aromatics
Onions and garlic are the stars of the show here. Don’t worry about the type of onion; red, yellow, or white will be fine. If you don’t have fresh onions and garlic on hand, dehydrated or powdered versions will work fine.
Part 5: Tomatoes
This might seem counterintuitive, but canned tomatoes are the best choice here 99% of the time. Much like frozen vegetables, tomatoes are harvested and canned at a point of peak-ripeness. If it’s near the end of summer or beginning of fall (tomato season), feel free to go with fresh. I prefer crushed tomatoes for their consistency, but this is a personal preference.
Part 6: Spices
This is where you can go wild if you have the time and money (and inclination) to do so. But for the sake of this recipe, I’m going to keep it simple. You’ll need chili powder, cumin, garlic powder, onion powder, and cayenne powder if you like it spicy.
No substitutions for this section, these are cheap and widely available spices and you should have them in your spice drawer for loads of other recipes too! Look for an ALDI near you, they carry all of these spices at very affordable prices.
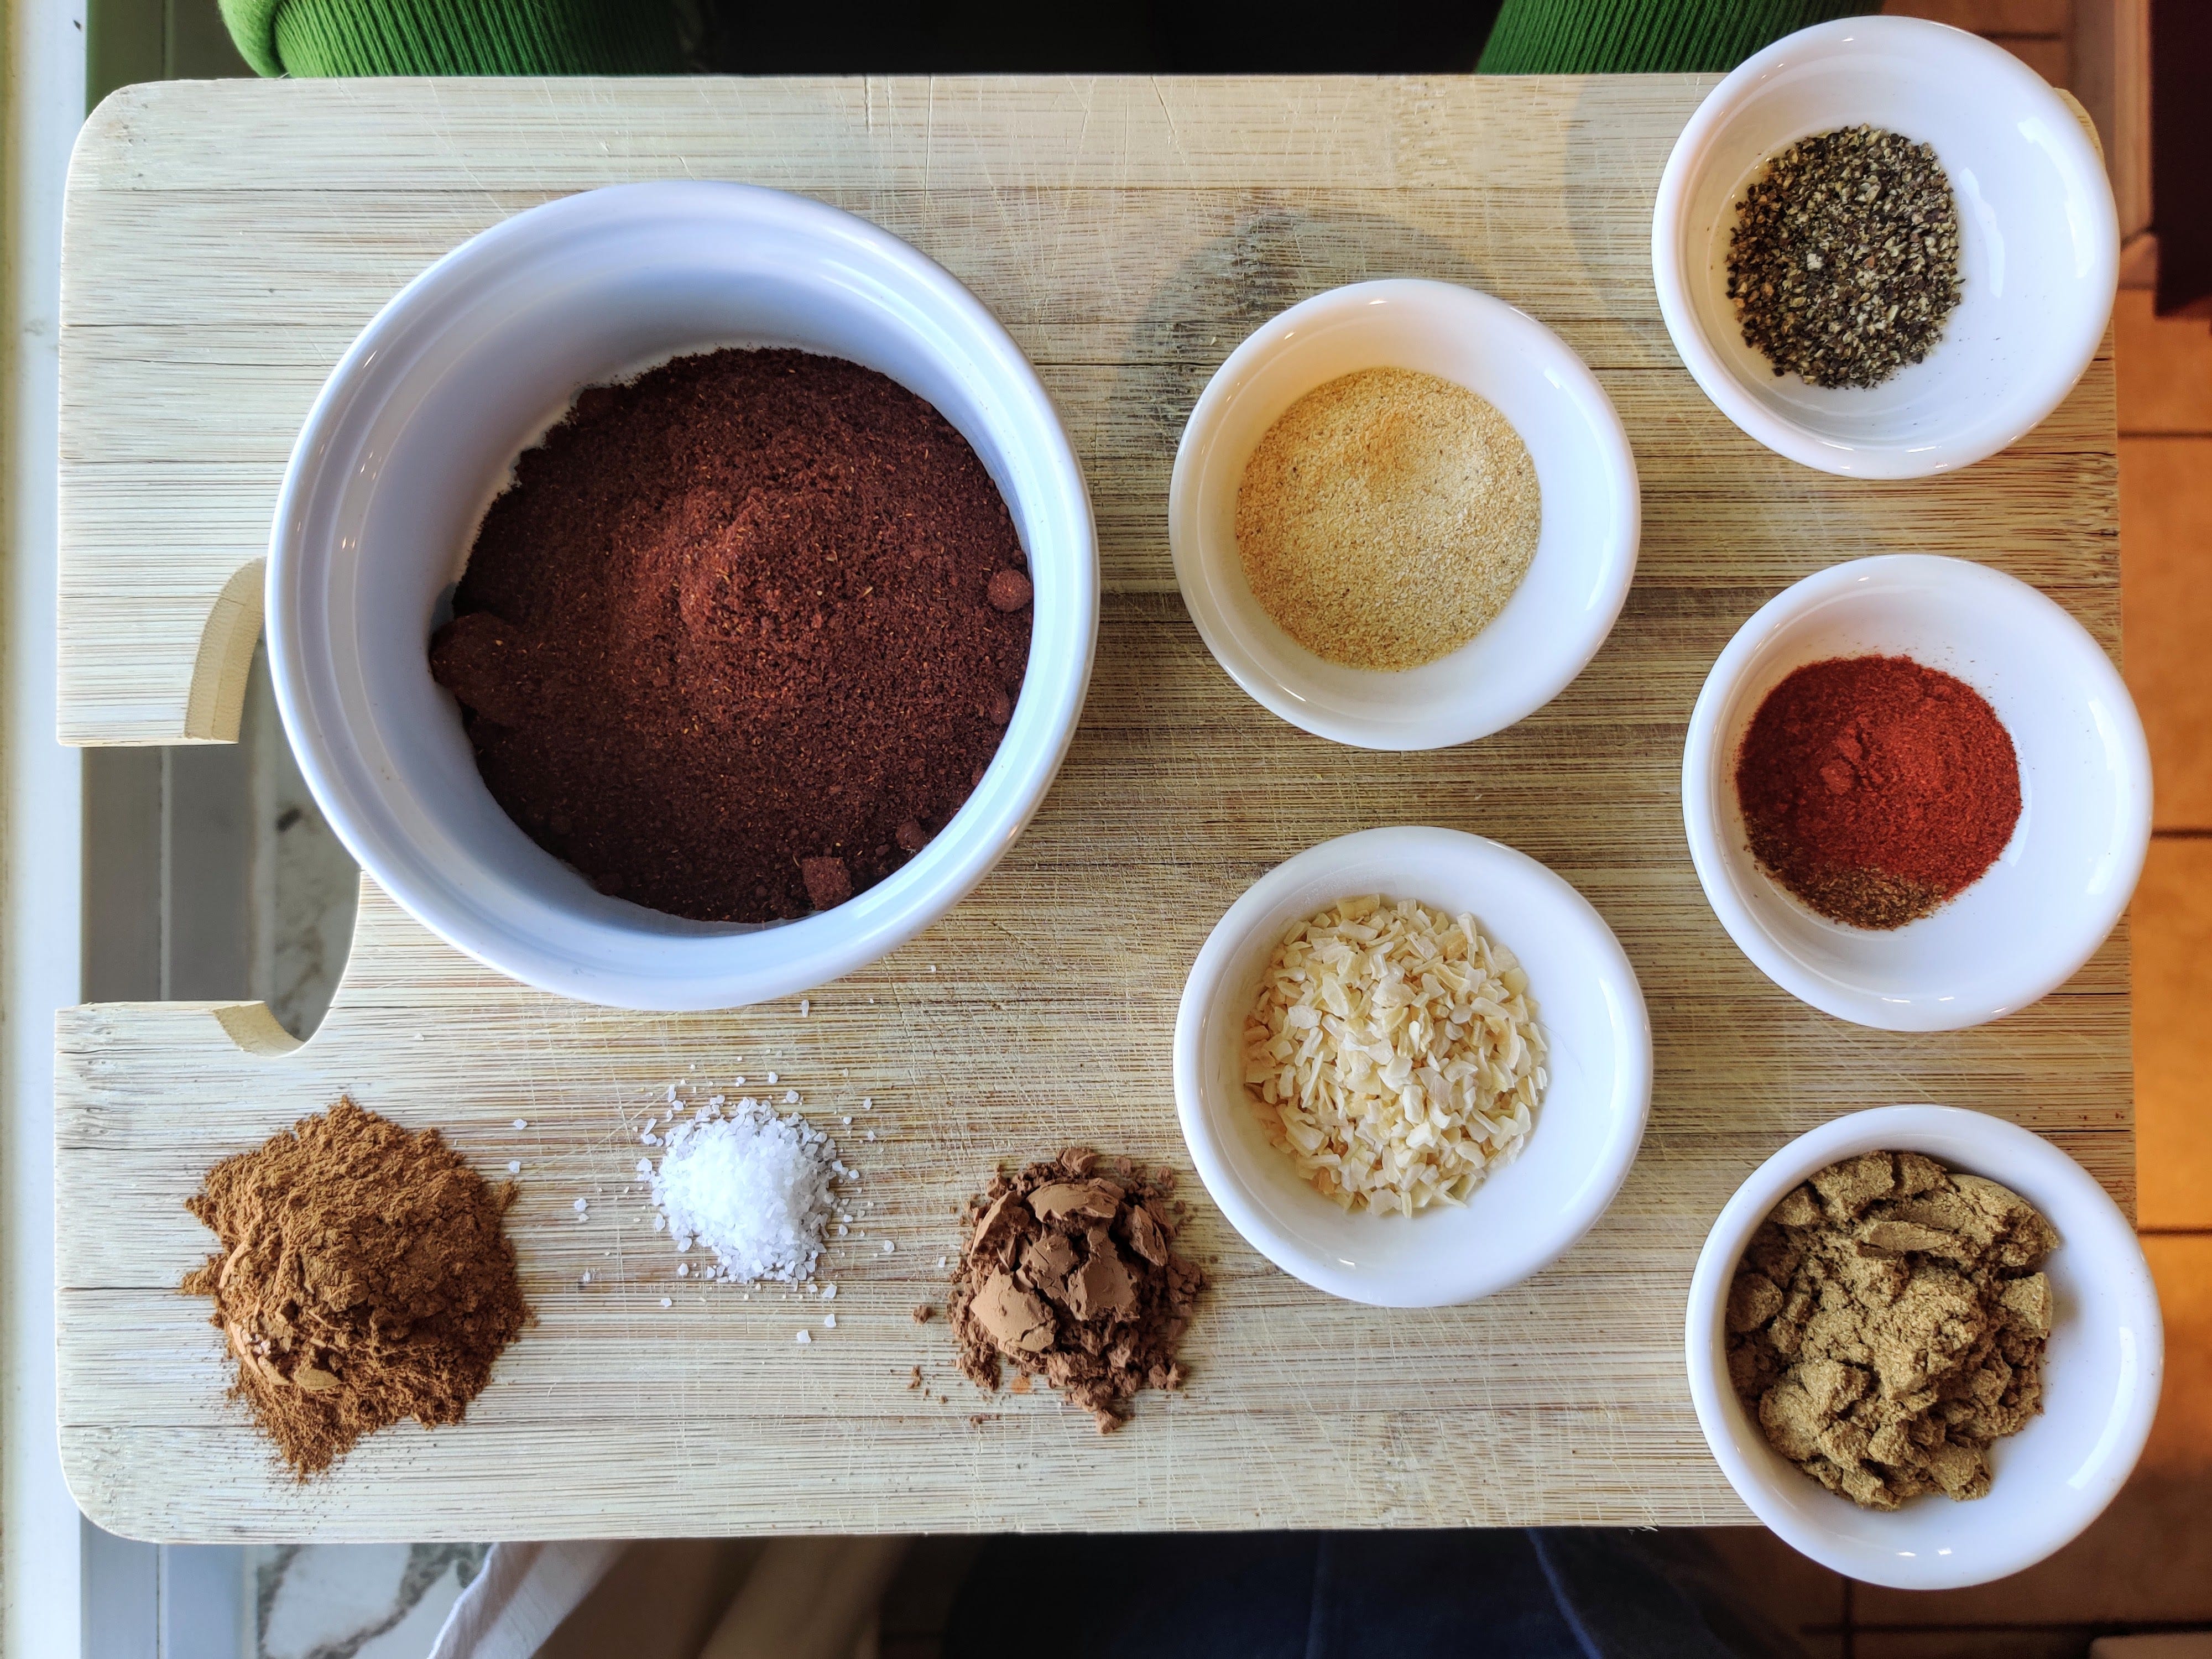
Chili spice blend
Get a mason jar or any airtight container and add the following spices to it.
4 Tablespoons | Chili powder
4 Teaspoons | Ground cumin
1 Teaspoon | Garlic powder
2 Teaspoons | Onion powder
1 Teaspoon | Cayenne pepper (if you don’t like spicy food, replace this with any variety of paprika, I recommend smoked)
1 Teaspoon | Salt
1 Teaspoon | Black pepper
Optional | For some Cincinnati-style flavors, add 2 teaspoons cinnamon and 1 teaspoon cocoa powder
Now you have your own ready-to-use chili spice blend which will save you tons of time whenever you make chili. This should stay fresh for at least 6 months.
Ingredients
1 Cup | Protein (if using TVP, you’ll need 1 cup of vegetable broth on hand)
1/2 Cup | Uncooked grains (or 1 cup cooked grains)
1 Cup | Cooked beans (or 1 can of beans, drained)
1/2 | Onion, diced (wrap the other half in plastic wrap and refrigerate for up to a week)
3 | Garlic cloves, pressed (if you don’t have a garlic press, just mince with a sharp knife)
28 oz Can | Canned tomatoes (I prefer San Marzano tomatoes, but whatever’s on sale will work great)
2 Tablespoons | Chili spice blend
2 Teaspoons | Tomato paste (I recommend the tubes that you can store in the fridge over the little cans. You’ll save money in the long run)
Needed equipment: Large pot or dutch oven, stirring device (wooden spoon)
This amount of ingredients will make about 6 servings of chili.
Methodology
Have you ever seen how a chef on a cooking show portions out and prepares each ingredient before beginning to cook? That’s not just for television, it’s a really good idea. You don’t want to wait until you need to add the tomatoes to go hunting for the can opener. Begin by getting your ingredients portioned, chopped, drained, opened and ready to go.
Heat your pot over medium heat and add a tablespoon of canola oil. When the oil is hot, add in your onions and cook, stirring occasionally until softened.
Toss in the garlic and keep it moving for a couple of minutes, just until fragrant.
Add in your TVP, then 1 cup of vegetable broth and stir to combine. Skip the broth if you’re using ground meat.
Add in 2 tablespoons of your chili spice mix and stir to combine.
Cook for a few minutes, stirring to keep the mixture from sticking until the TVP absorbs the water or the meat is browned.
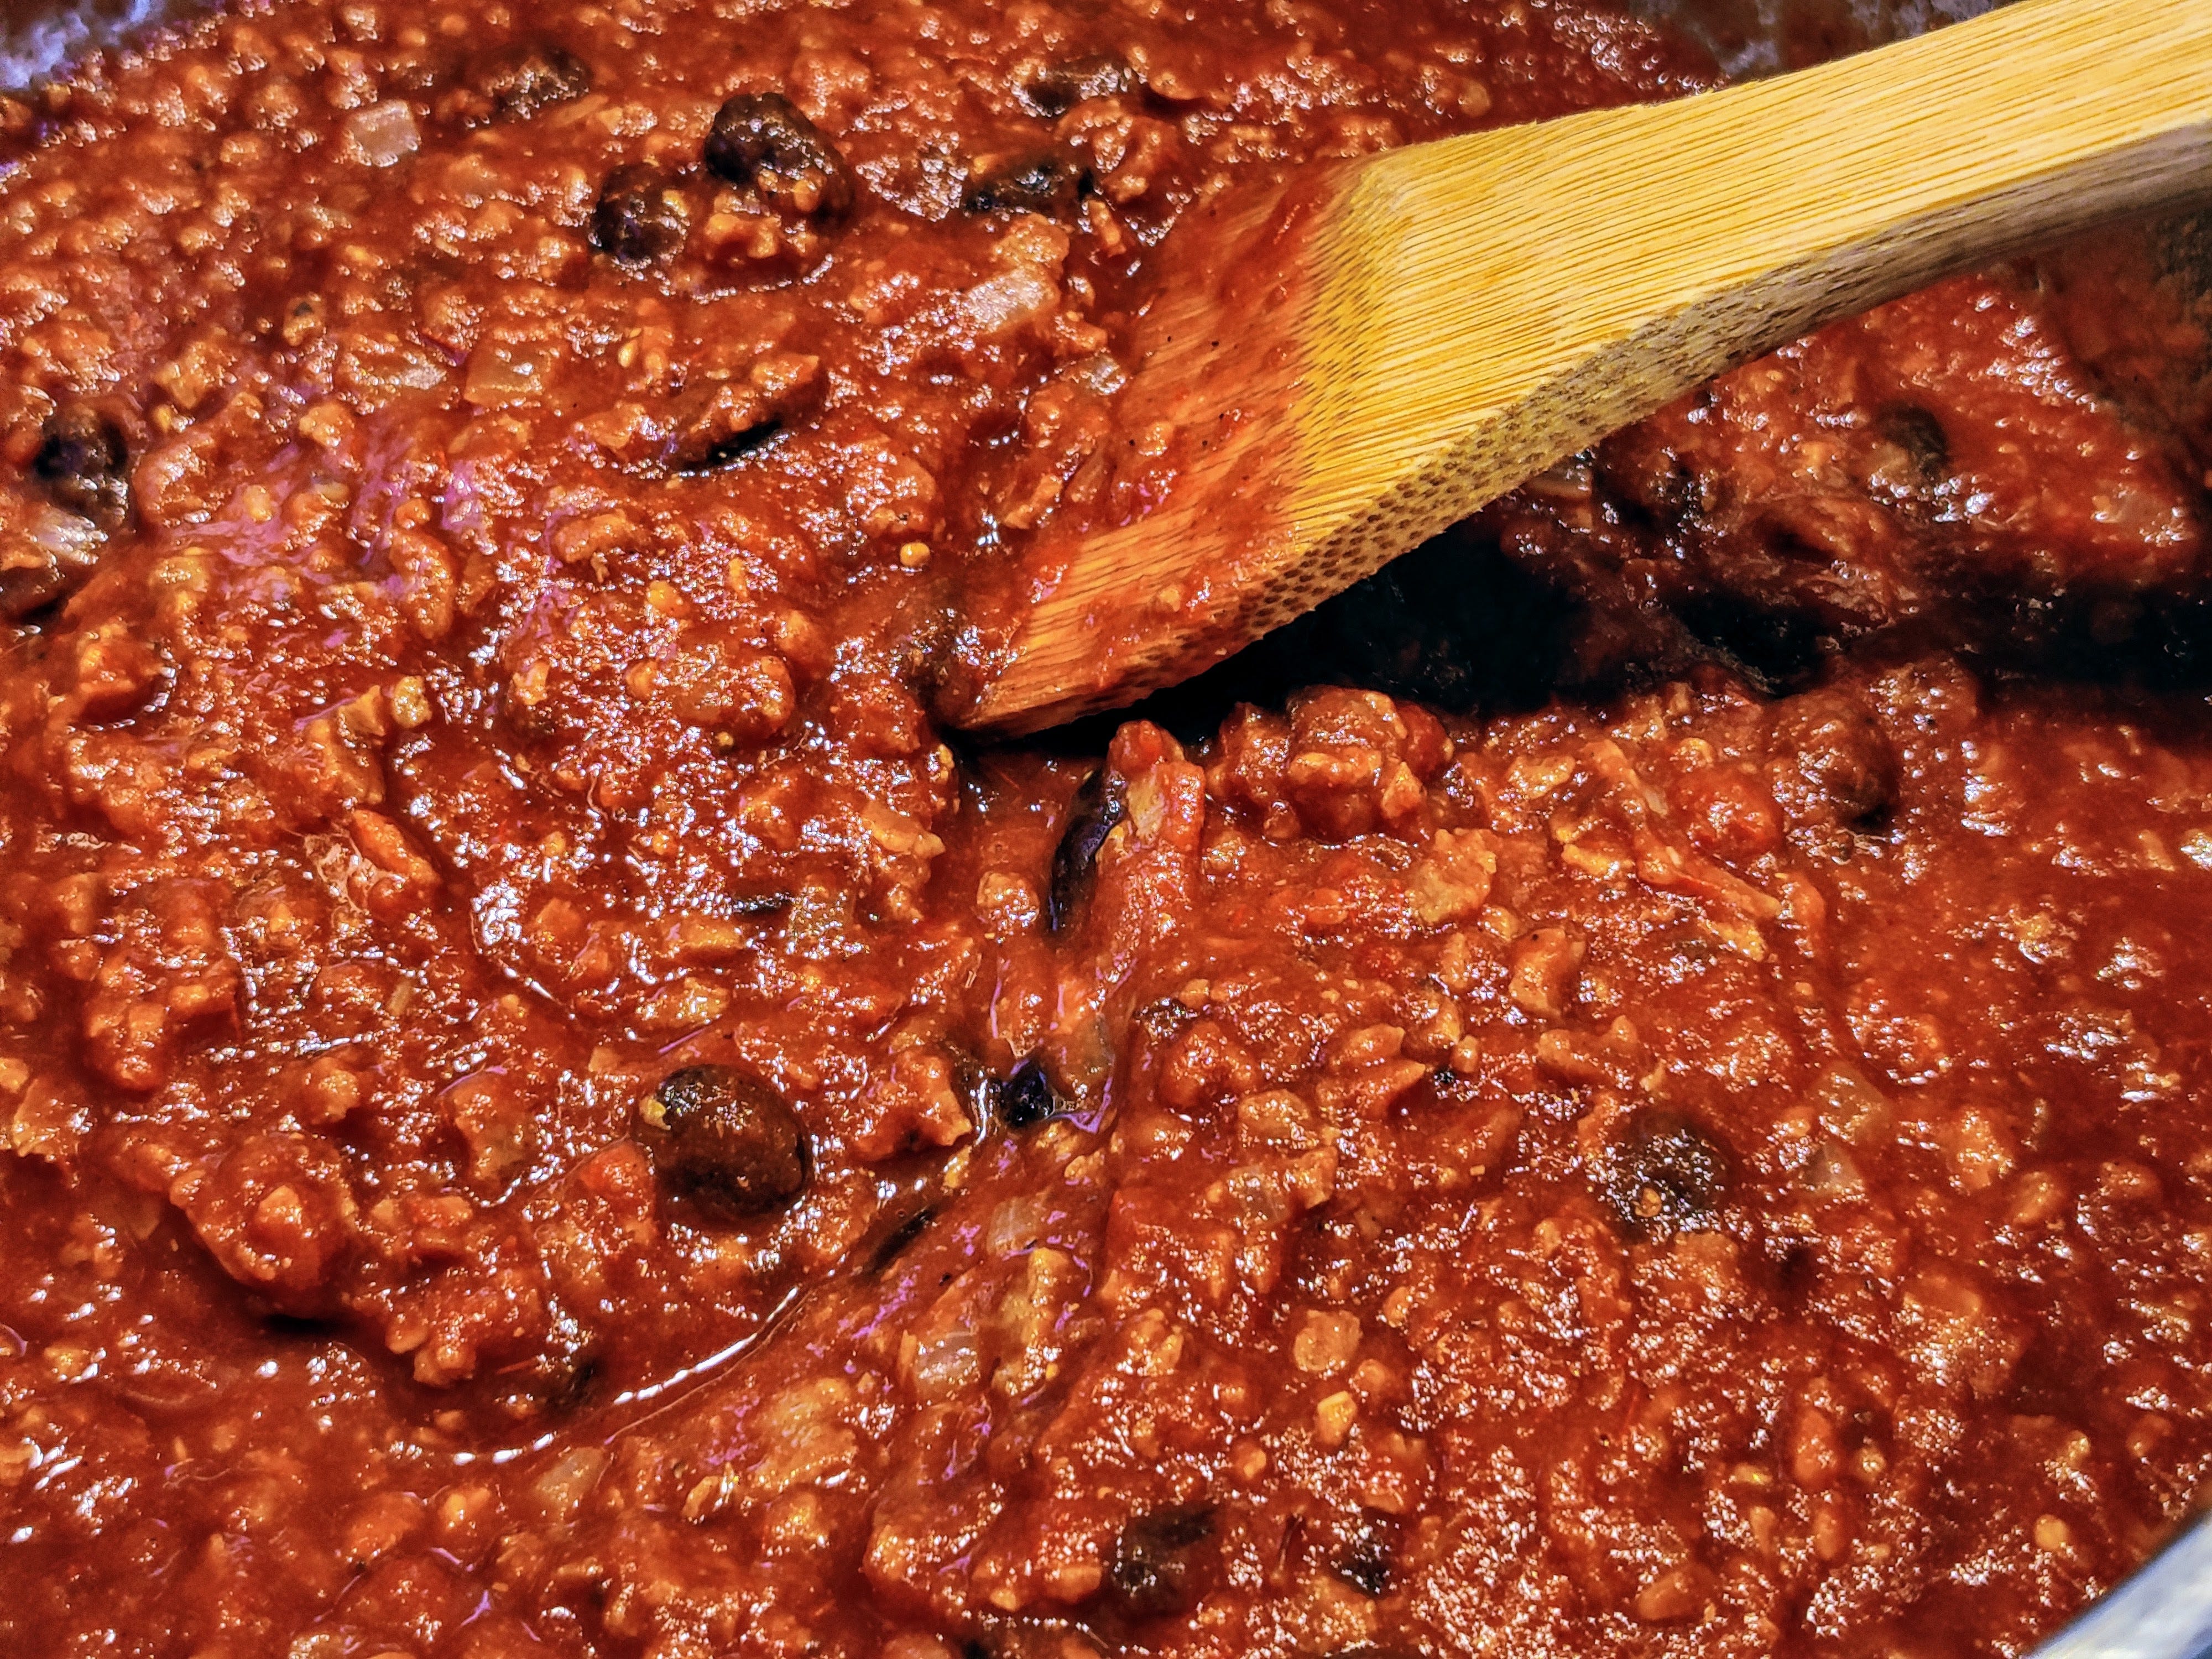
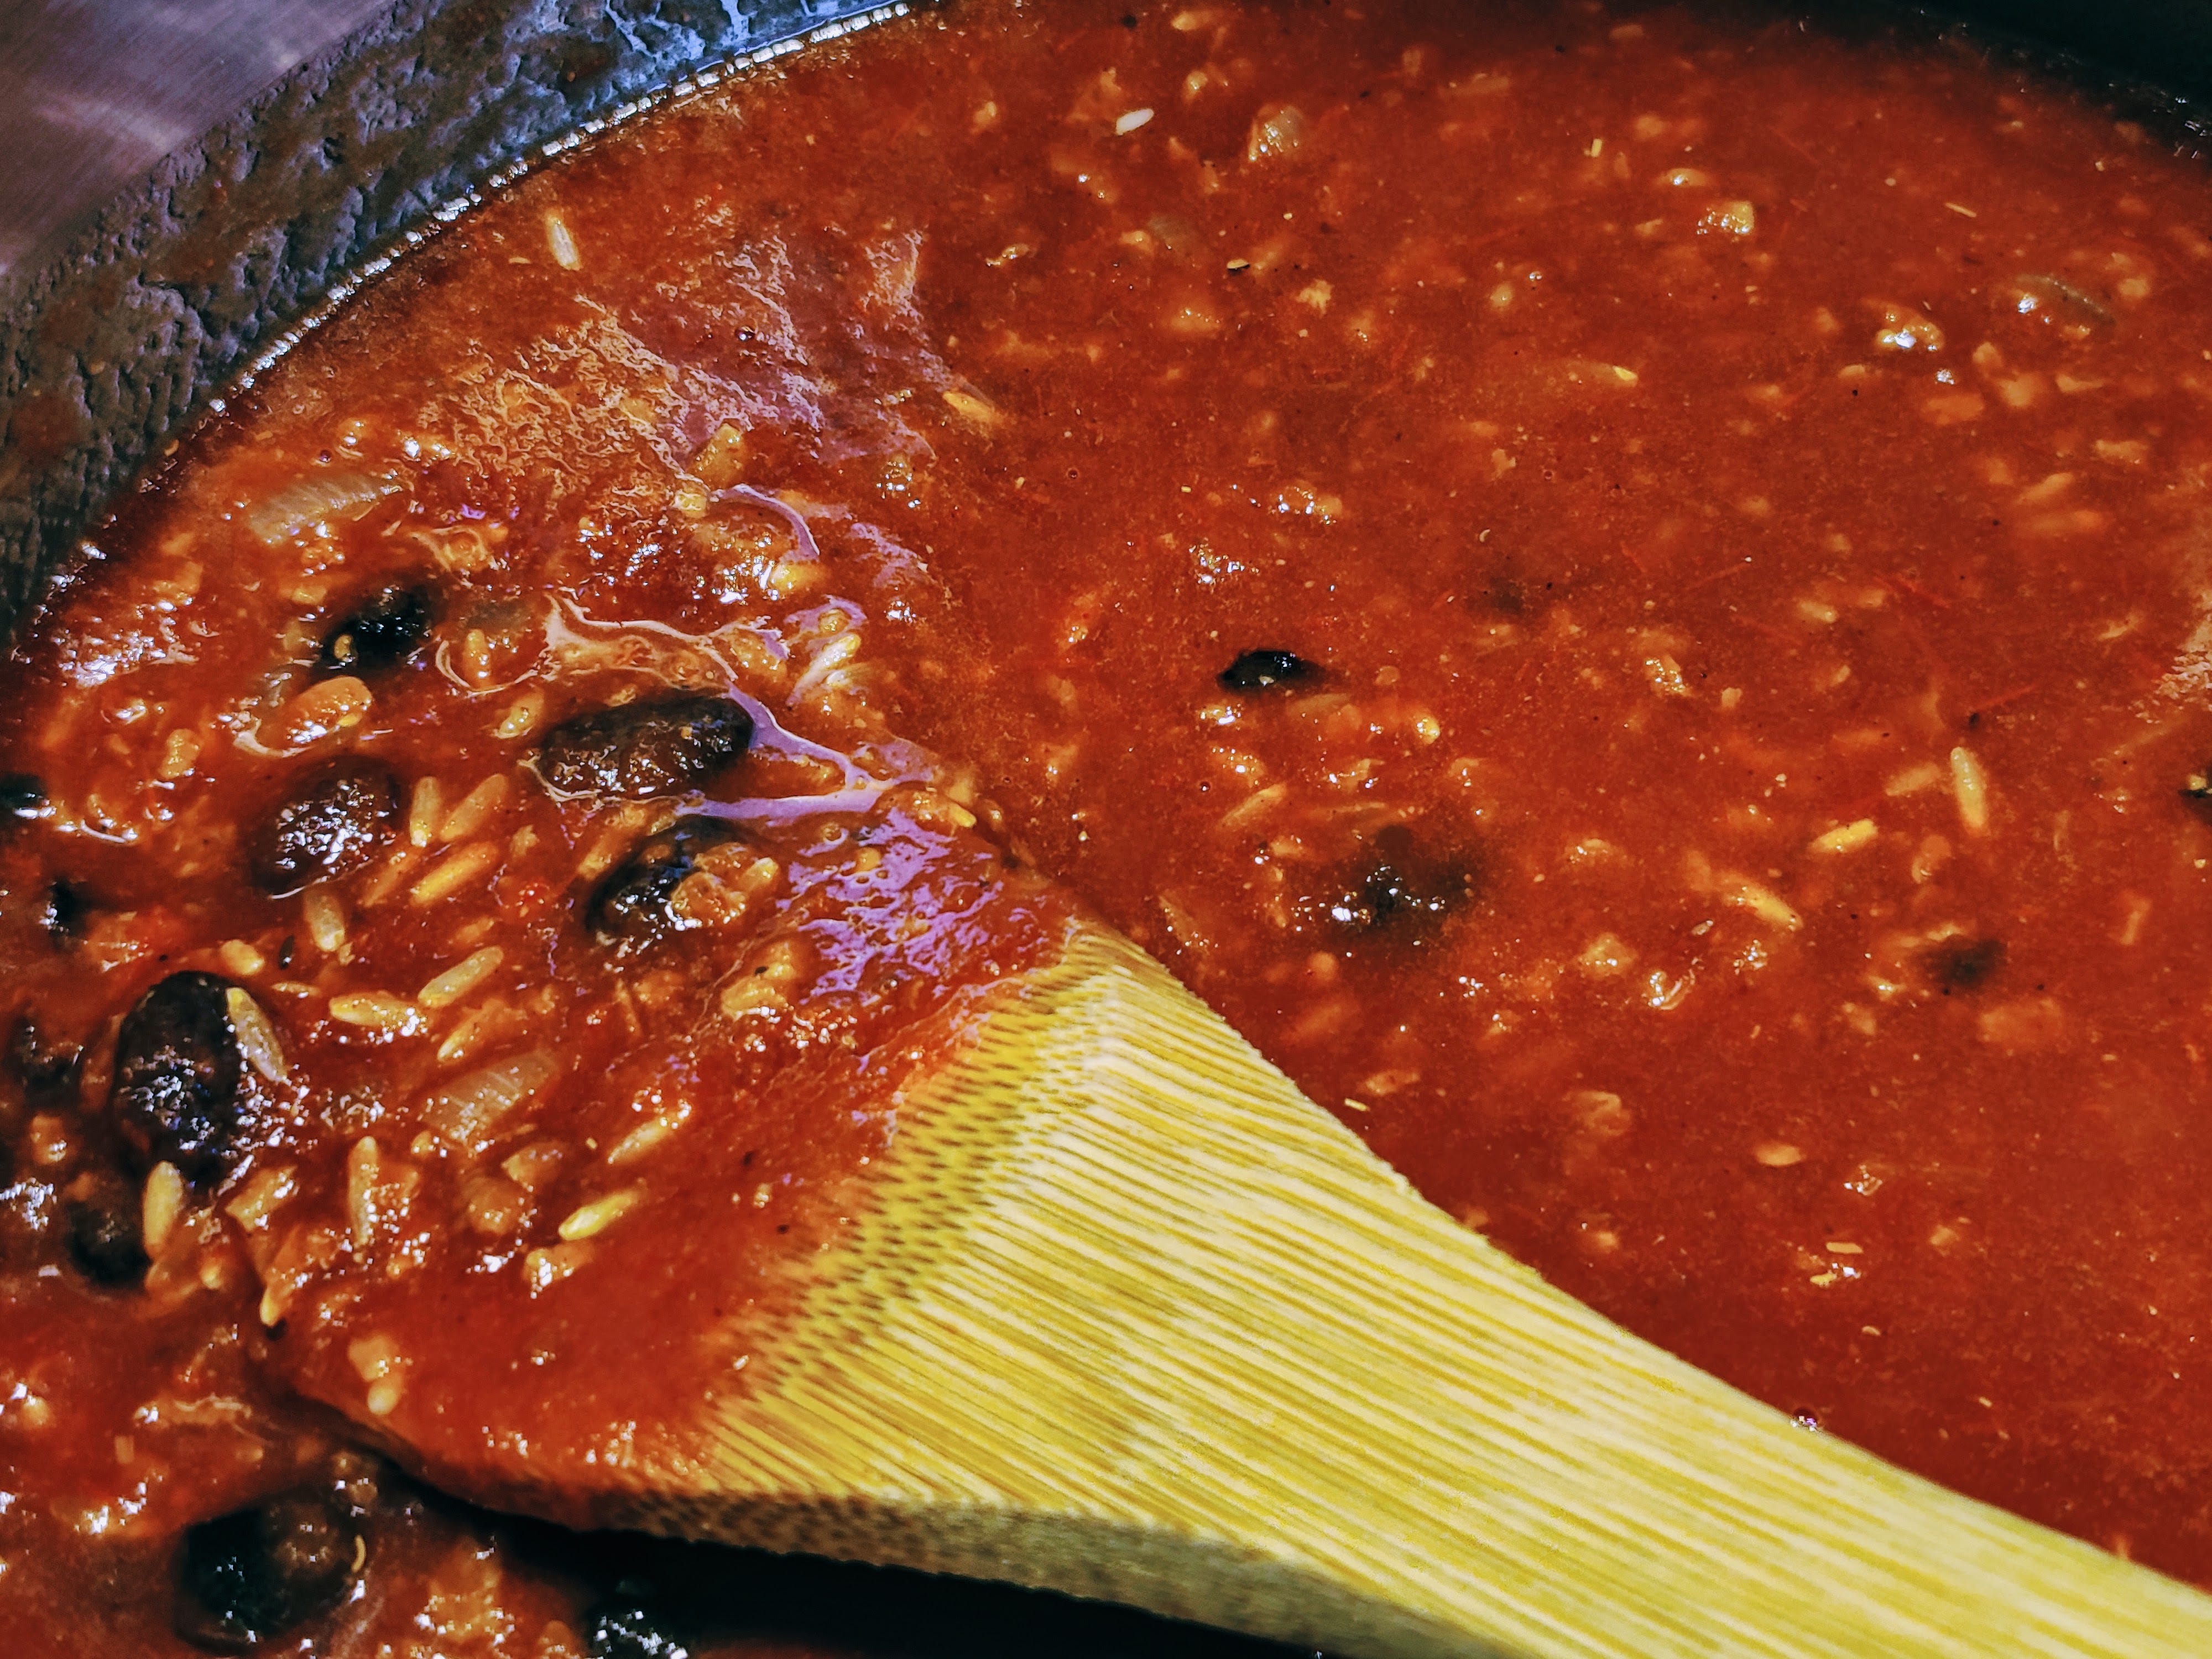
Add the beans, tomatoes, and tomato paste. Stir to combine.
Pour in 2 cups of vegetable broth or water and add your grains.
Reduce the heat until the chili is just simmering. Put the lid on and let it simmer (not boil) for 25-30 minutes. Extend the cooking time by an additional 5-10 minutes if you used uncooked grains. Stir the pot occasionally and make sure that it doesn’t boil. If the chili starts to feel too thick when you stir it, add more broth/water a half a cup at a time until you get back to a consistency you like. Add 1 teaspoon of sugar and 1 teaspoon of salt.
Taste the chili and try to identify if anything is lacking. If it tastes dull, add some more salt. If the chili is too acidic or sharp, add small amounts of sugar. Keep the heat low, add one thing at a time and then taste. Chili is a forgiving dish and you can make several alterations once it’s finished cooking to get the taste just right.
Don’t forget to add loads of hot sauce.
Improvements and improvisations
Think of this recipe as a base for you to build on. Experiment with it. Try adding some of the alternative ingredients I listed above. Here are a few examples of ingredients you should experiment with:
Liquid smoke, in small amounts, imparts an amazing smoky flavor.
Red cabbage can be shredded and used as a protein replacement or addition. It’s very filling.
Soy sauce provides depth and umami flavor. Reduce the salt to compensate.
Sweet corn brings texture and sweetness to the profile.
Storage and food safety
These are the containers I use to store meal prep and leftovers.
Whether you’re making this chili for meal prep or just storing leftovers, there are a few important things to know about food storage. Never put hot food in an airtight container and refrigerate it. It can make your food taste sour and lower the temperature in your fridge. You need to cool hot food before storing it. Here’s a terrific resource from the USDA on preventing bacterial growth and the best practices for storing leftovers.
Currently, I offer 3 free newsletters each month and 1 subscriber-only issue. I will continue to expand both the free offerings and subscriber benefits as my audience grows.
One last thing…
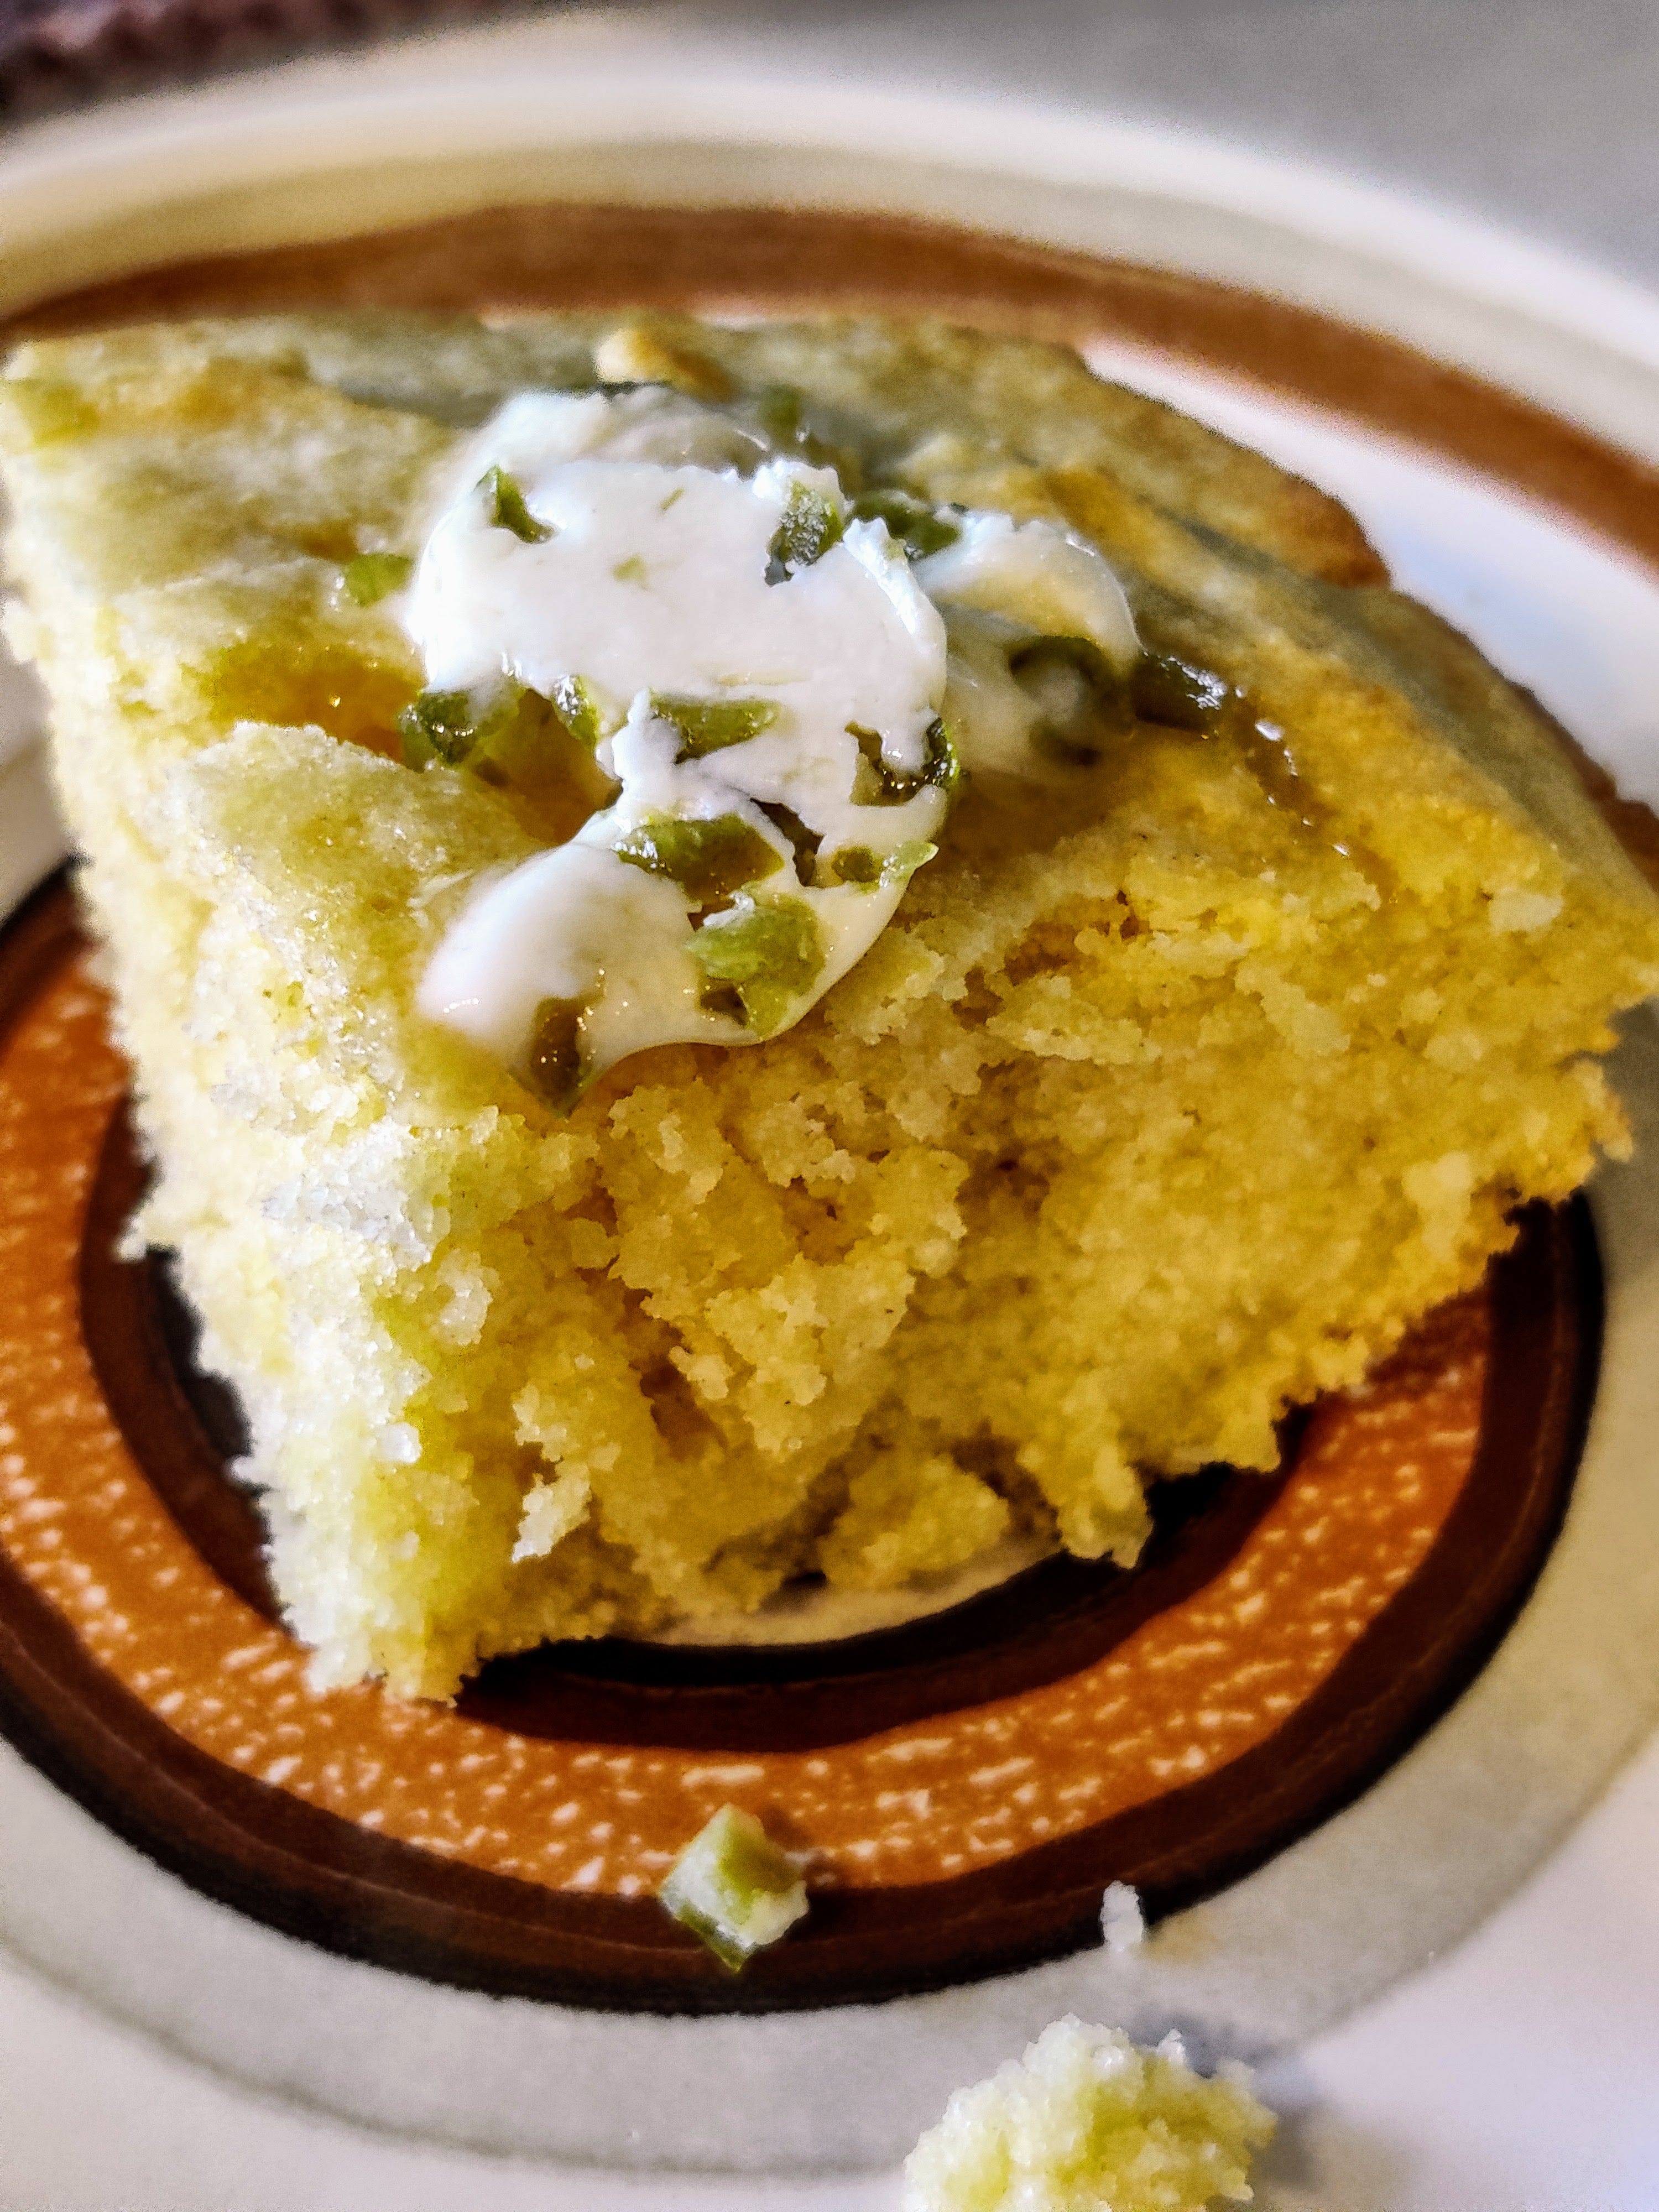
I made this amazing cornbread recipe alongside my chili and it was a huge hit. I highly recommend it.
If you learned something new or just silently exhaled through your nose a few times, please consider subscribing and telling your friends about Food Bank!
First time, long time
What are you spending the most on at the grocery store? Do you have a favorite dish that you can’t afford to make? Leave a comment below or send me an email at foodbankmailbag@gmail.com and I’ll use your responses for an upcoming newsletter!
I use Amazon associate links. That means that if you buy something through one of the links in this newsletter, I’ll get a small commission from Amazon. Rest assured, I will only link to products I use and recommend.